Add a Document link to the Web Content
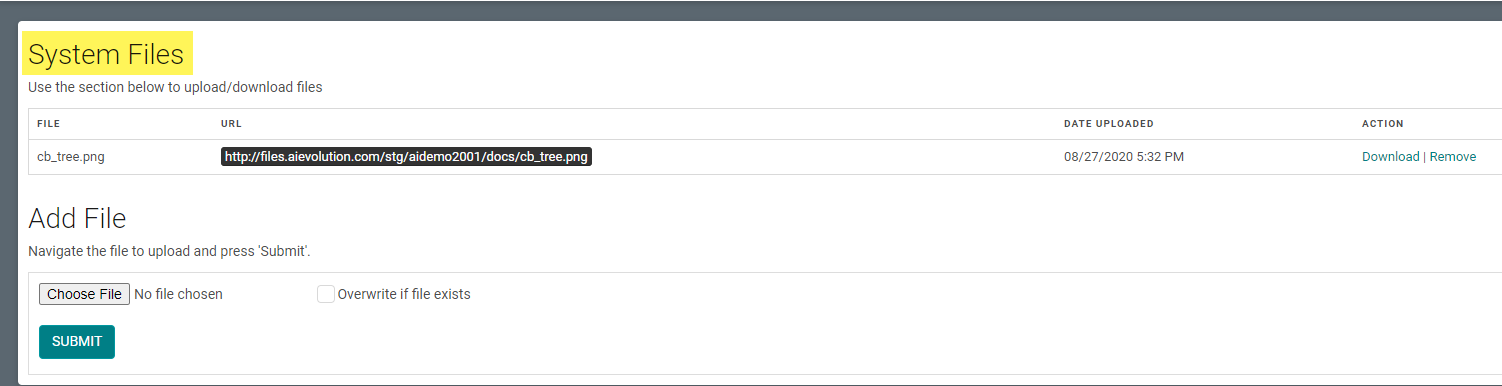
STEP 1: Go to Settings > Web Content > Files

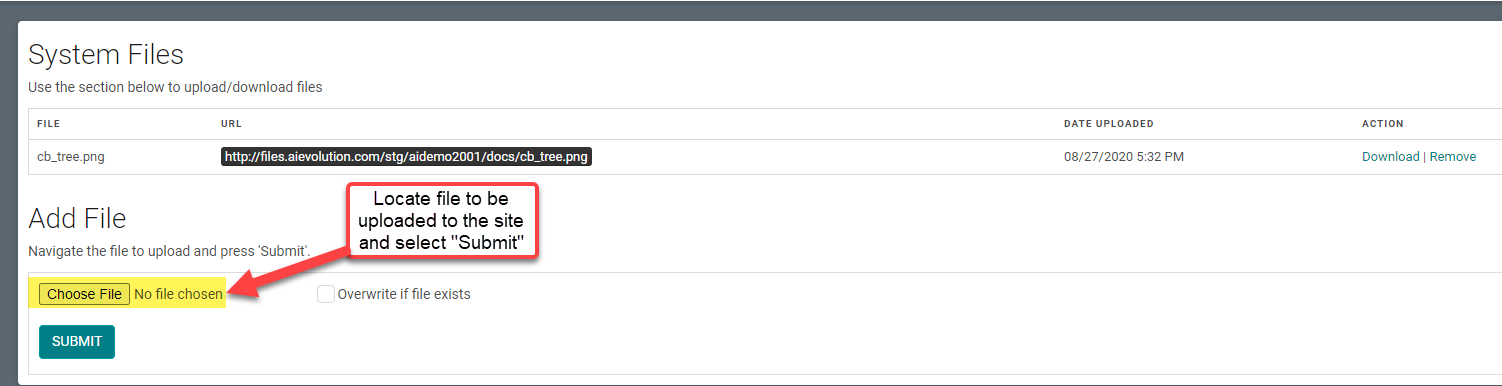
STEP 2: At the bottom of the page, select the 'Choose File' button
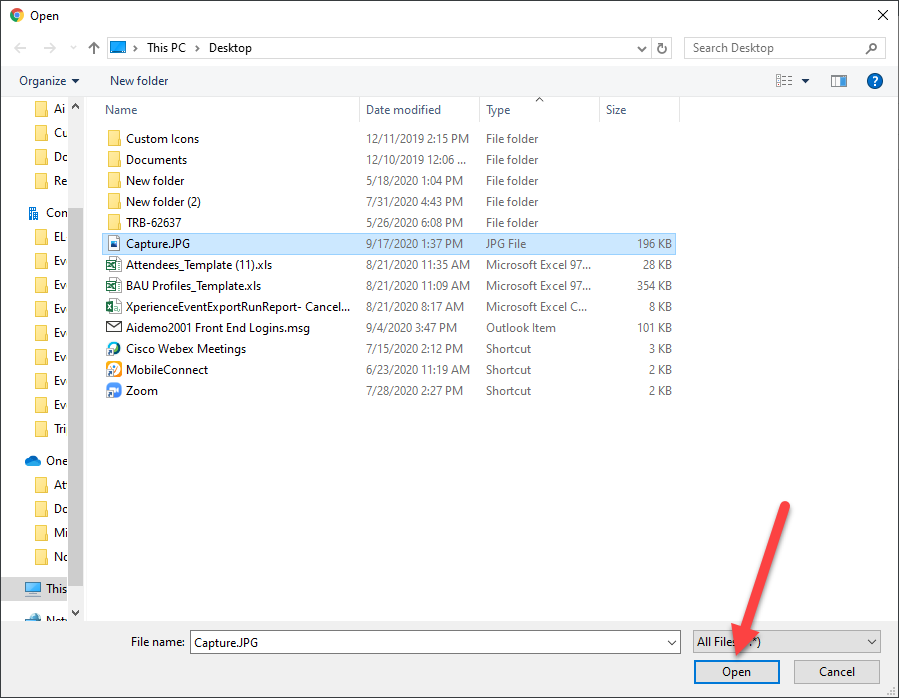
STEP 3: Search your computer for the correct file and select 'Open'
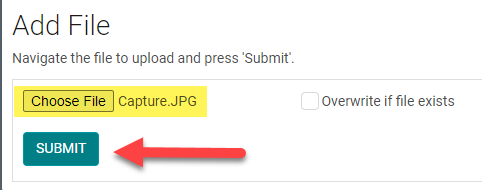
STEP 4: Select the 'Submit' button
NOTE: check the 'Overwrite if file exists' to replace a file with the EXACT same file name.
Once the file is added to System Files, it can be added to Web Content by being copied and then pasted into the URL Field noted in Step 9 below.
Once the file is added to System Files, it can be added to Web Content by being copied and then pasted into the URL Field noted in Step 9 below.
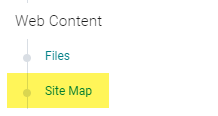
STEP 5: Got to Web Content > Site Map
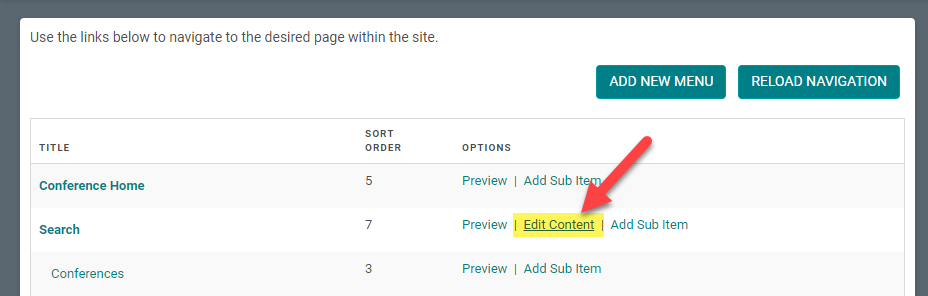
STEP 6: Select 'Edit Content' next to the Menu you want to add the image to
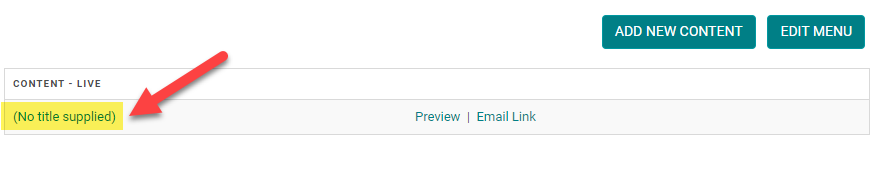
STEP 7: Select the Content you want to add the document to
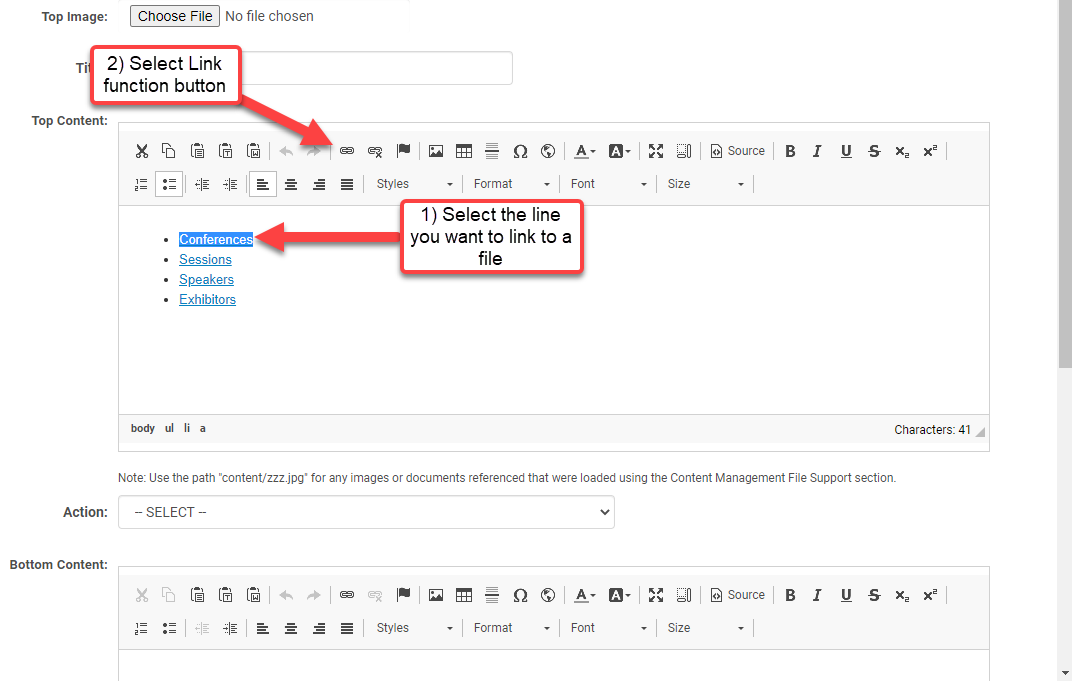
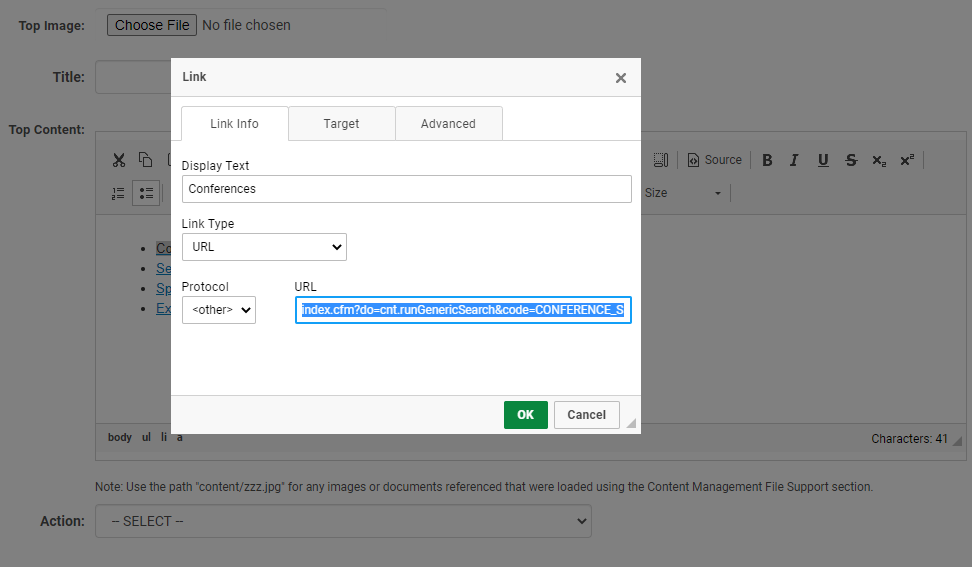
STEP 8: Select the entire title/text that you would like to add the document link to (#1 below), then select the Link function button (#2 below)
STEP 9: The LINK box window will open. Select <Other> in the Protocol field, then copy the file that was added in Step 2 and then paste it into the URL field and select “ok”.
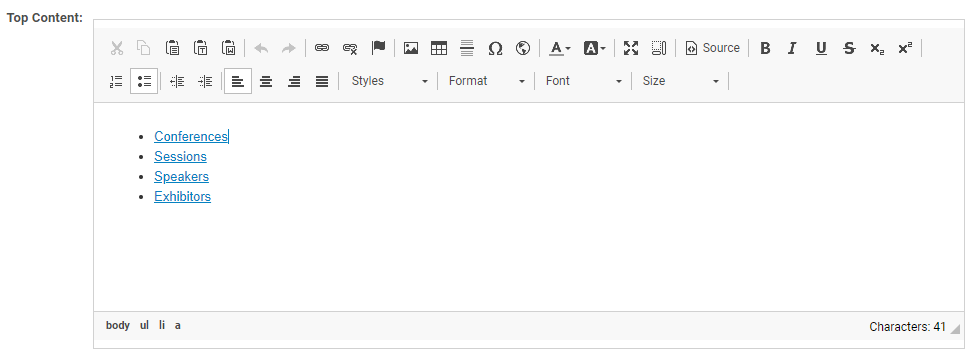
Step 10: The Title/Text will be underlined to show that the link has been added.
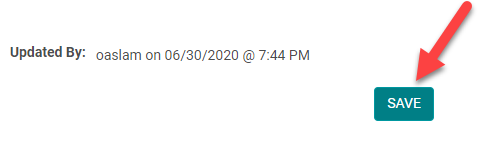
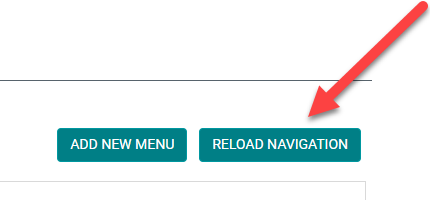
Step 11: Select “Save” at the bottom of the page and then reload Navigation on the "Site map" page to make the change LIVE.
Related Articles
Add New Menu
Step 1: Go to Web Content > Site Map > Add New Menu Step 2: Complete Appropriate Fields and Click 'Save' Field Definitions: Parent – To be selected if you are creating a submenu. This will determine which main menu the submenu appears under. This can ...Link Menu or Sub Menu Item to a document
STEP 1: Go to Settings > Web Content > Files STEP 2: At the bottom of the page, select the 'Choose File' button STEP 3: Search your computer for the correct file and select 'Open' STEP 4: Select the 'Submit' button NOTE: check the 'Overwrite if file ...Add New Sub Item / Sub Menu
Step 1: Go to Web Content > Site Map > Add Sub Item Step 2: Complete the applicable fields and click 'Save' NOTE: The 'Parent' field is pre-populated with the Main Menu Title Navigation Menu Field Definitions: Parent – Select the parent menu item ...Add Image to Web Content
STEP 1: Go to Web Content > Files STEP 2: At the bottom of the page, select the 'Choose File' button STEP 3: Search your computer for the correct file and click 'Open' STEP 4: Click the 'Submit' button NOTE: check the 'Overwrite if file exists' to ...Add New Content Page
Step 1: Go to Web Content > Site Map > click 'Edit Content' next to the Menu Title you want to add content to -OR- Step 1: From the 'Edit Navigation' page, click 'Edit Content' Step 2: Click 'Add New Content' Step 3: Add the appropriate content and ...